
As you know from my previous article, I am working on an application where I need to install database. My first choice was to create SQL Db database. I could create SQL db database on my mac but it is not supported on raspberry pi. Raspberry pi supports SQL Edge which is very costly for initial development. I also wanted to work on MongoDb for long time. This application could be an opportunity to work on MongoDb and it can be installed on raspberry pi 4.
Preparing Raspberry Pi 4 for MongoDb
So in previous article, I have installed docker to host the web application in docker, but base operating system was rasbian. In this case it require ubuntu on the raspberry pi.
Installing Ubuntu on raspberry pi
Followings are the steps to install ubuntu. We need Raspberry Pi Image Installer on our computer. We will write os to microsd cart and insert into Raspberry pi.
- Start Pi Image Installer:
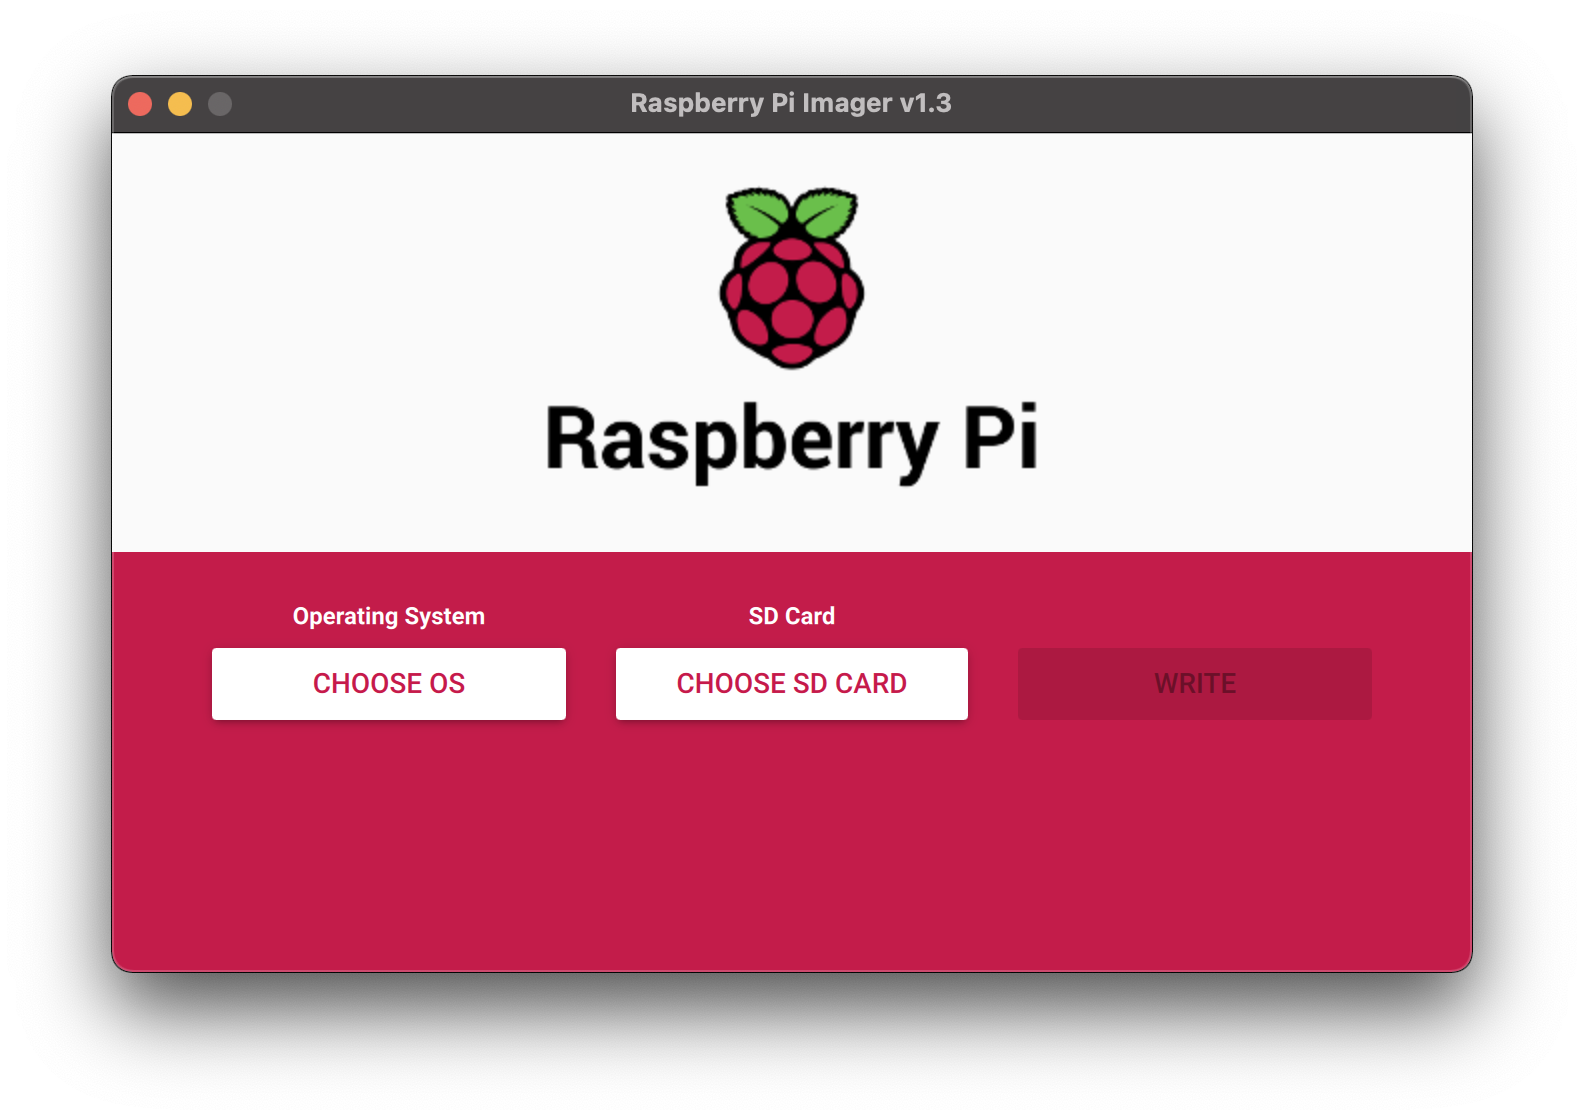
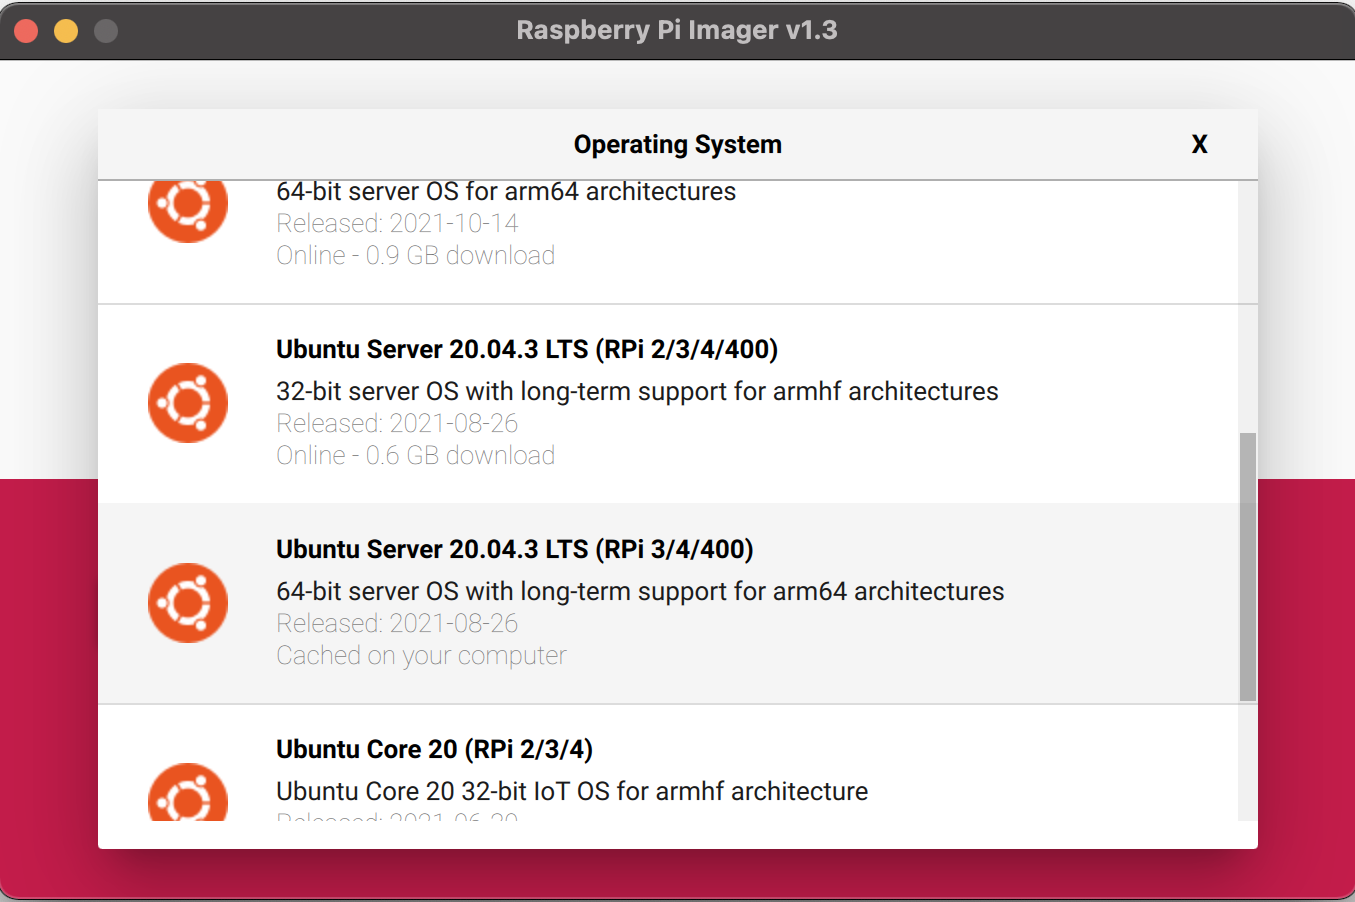
- Click on “CHOOSE OS” and select Ubuntu Server 20.04.3 LTS (RPi 3/4/400) 64-bit server.
- Next select “CHOOSE SD CARD” and click on Write. This. process will create micro usb to install on raspberry pi. When writing finishes, re-insert this microSD in the computer.
- Name of this microSD will be given by image create would be “system-root”. Now open network-config file at root level using any editor. I used VS Code to open it.
- Uncomment (remove the ‘#’ at the beginining) and edit the below lines. Replace <wifi network name> and <wifi password> with your wifi name and password.
wifies:
  wlan0:
    dhcp4: true
    optional: true
    access-points:
      <wifi network name>:
        password: "<wifi password>"
Note: network name and password must be enclosed in quotation mark.
Save the file and remove from computer and insert in microSD port of raspberry pi and turn it on. In my case, I haven’t setup any static ip address for this ubuntu server instance. Hence I need keyboard and monitor to connect to the raspberry pi. I had very cheap wired keyboard and monitor which I use with my laptop. Required cable generally comes with it if kit is purchased.
Setting up Raspberry pi
Once we boot the raspberry pi it ask for user id and password. default userid and password is “ubuntu” same as password. It’ll ask to change password. So change the password and you are ready to use Raspberry Pi.
Checking ip Address
As mentioned earlier, I have not setup static ip address, hence it is dynamic. My raspberry pi will remain on forever, hence there going to be very little chance, that IP will change. Run command “ifconfig” to check ip address of Wireless card. See screenshot below:
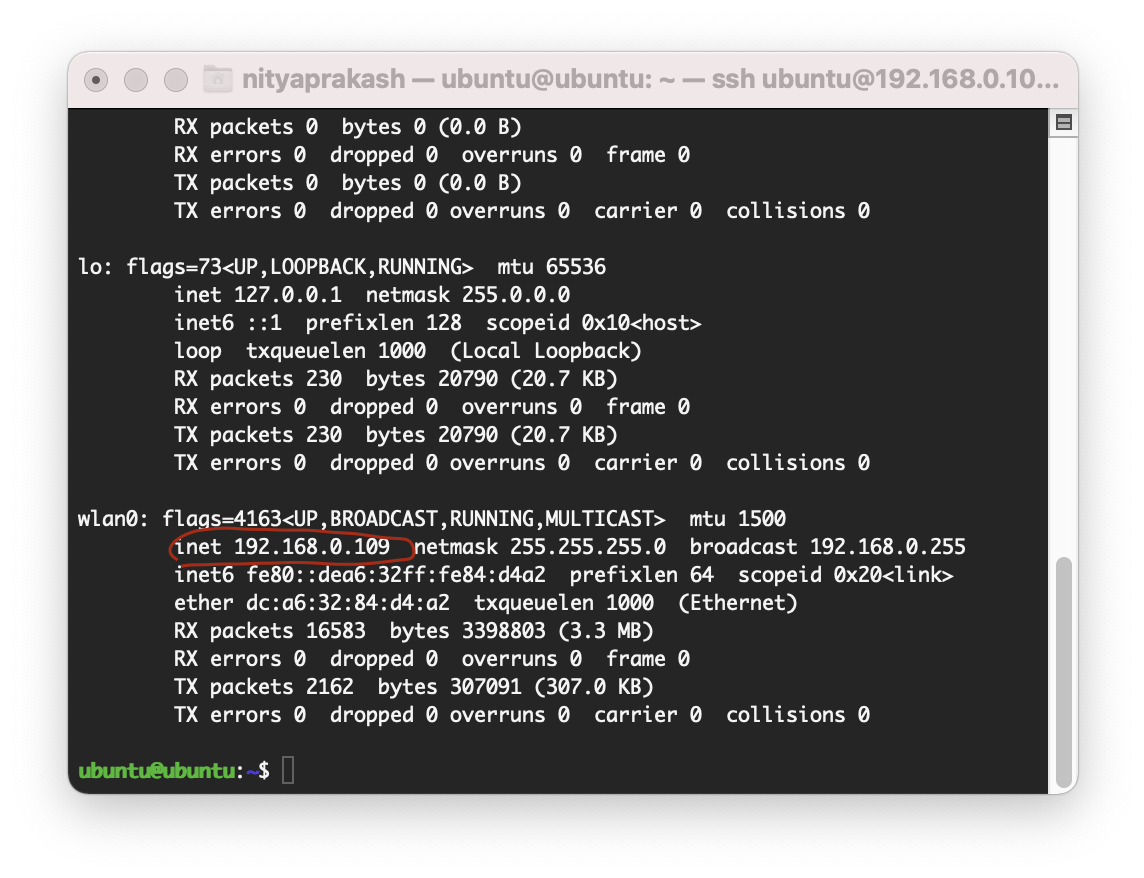
This is the IP address I am going to use ssh from my laptop to the raspberry pi.
Installing MongoDB
Before we start we need to upgrade the OS with below command.
sudo apt-get update
sudo apt-get upgrade
Use following commands to install MongoDB on raspberry pi. By this time either you can directly connect to raspberry pi using keyboard and monitor or with above ip address you can do ssh to the raspberry pi.
# Install the MongoDB 4.4 GPG key:
wget -qO - https://www.mongodb.org/static/pgp/server-4.4.asc | sudo apt-key add -

# Add the source location for the MongoDB packages:
echo "deb [ arch=amd64,arm64 ] https://repo.mongodb.org/apt/ubuntu focal/mongodb-org/4.4 multiverse" | sudo tee /etc/apt/sources.list.d/mongodb-org-4.4.list

# Download the package details for the MongoDB packages:
sudo apt-get update

# Install MongoDB:
sudo apt-get install -y mongodb-org
Run MongoDB
Ubuntu uses Systemd to run background service, so to set up mongod to run in the background.
# Ensure mongod config is picked up:
sudo systemctl daemon-reload

# Tell systemd to run mongod on reboot:
sudo systemctl enable mongod

# Start up mongod!
sudo systemctl start mongod
Use systemctl status command to check the status
ubuntu@ubuntu:~$ sudo systemctl status mongod
● mongod.service - MongoDB Database Server
     Loaded: loaded (/lib/systemd/system/mongod.service; enabled; vendor preset>
     Active: active (running) since Tue 2021-12-21 05:20:25 UTC; 2 days ago
       Docs: https://docs.mongodb.org/manual
   Main PID: 1717 (mongod)
     CGroup: /system.slice/mongod.service
             └─1717 /usr/bin/mongod --config /etc/mongod.conf
Let us confirm if mongodb is working or not. We will run. MongoDB client, mongo , from the command line:
ubuntu@ubuntu:~$ mongo
MongoDB shell version v4.4.10
connecting to: mongodb://127.0.0.1:27017/?compressors=disabled&gssapiServiceName=mongodb
Implicit session: session { "id" : UUID("277dc60d-05c2-4ae9-84c2-d6e7d3c2fe3f") }
MongoDB server version: 4.4.10
>
Securing MongoDB
if client and server running on same raspberrypi, we are fine now. However, if we want to access this server on the network, per say from your machine where development is going on, we need to configure security. We have to. provide administrator userid and password. For this when we inside mongo we need to execute below command and create admin user.
use admin
db.createUser( { user: "admin",
            pwd: "SUPERSECRETPASSWORD",
            roles: [ "userAdminAnyDatabase",
                     "dbAdminAnyDatabase",
                     "readWriteAnyDatabase"] } )
exit
But by just adding user will not enable the authentication. We need to add below two lines in /etc/mongod.conf file.
# These two lines must be uncommented and in the file together:
security:
   authorization: enabled
and restart the mongodb:
sudo systemctl restart mongodto make sure authentication is working we will run below command and it should return error message command listDatabase requires authentication:
ubuntu@ubuntu:~$ mongo
MongoDB shell version v4.4.10
connecting to: mongodb://127.0.0.1:27017/?compressors=disabled&gssapiServiceName=mongodb
Implicit session: session { "id" : UUID("f436a755-13a6-46a4-9cfd-3aa930a5d23b") }
MongoDB server version: 4.4.10
> db.adminCommand({listDatabases: 1})
{
	"ok" : 0,
	"errmsg" : "command listDatabases requires authentication",
	"code" : 13,
	"codeName" : "Unauthorized"
}
Now login to mongodb with userid and password and it should return database list:
ubuntu@ubuntu:~$ mongo -u "admin" -p "password"
MongoDB shell version v4.4.10
connecting to: mongodb://127.0.0.1:27017/?compressors=disabled&gssapiServiceName=mongodb
Implicit session: session { "id" : UUID("527fa35f-77b3-46c5-966e-3367994a6b94") }
MongoDB server version: 4.4.10
> db.adminCommand({listDatabases: 1})
{
	"databases" : [
		{
			"name" : "admin",
			"sizeOnDisk" : 135168,
			"empty" : false
		},
		{
			"name" : "config",
			"sizeOnDisk" : 49152,
			"empty" : false
		},
		{
			"name" : "local",
			"sizeOnDisk" : 73728,
			"empty" : false
		}
	],
	"totalSize" : 258048,
	"ok" : 1
}
Accessing MongoDb on local network
As we want this server accessible from my network we have to do few more steps
- Bind MongoDb to the Raspberry Pi’s public IP address
- Open up port 27017 on the Raspberry Pi’s firewall
- Restart the mongoDb
In order to binding IP address, we have to go back to /etc/mongod.conf and change IP address to 0.0.0.0:
# network interfaces
net:
  port: 27017
  bindIp: 0.0.0.0
Restart mongod again and open up port 27017 on raspberry pi’s firewall:
sudo systemctl restart mongod
sudo ufw allow 27017/tcp
Connect mongoDB on raspberry pi on network
Just we have to install mongoDB client on our dev machine and access the mongodb on raspberry pi. I am using mac and connecting with mongosh :
NityaMacbookPro:~ nityaprakash$ mongosh --host 192.168.0.109 -u "admin" -p "password"
Current Mongosh Log ID:	61c41aff10405524af8b7c81
Connecting to:		mongodb://192.168.0.109:27017/?directConnection=true
Using MongoDB:		4.4.10
Using Mongosh:		1.1.2

For mongosh info see: https://docs.mongodb.com/mongodb-shell/

Warning: Found ~/.mongorc.js, but not ~/.mongoshrc.js. ~/.mongorc.js will not be loaded.
  You may want to copy or rename ~/.mongorc.js to ~/.mongoshrc.js.
test> db.adminCommand({listDatabases:1})
{
  databases: [
    { name: 'admin', sizeOnDisk: 135168, empty: false },
    { name: 'config', sizeOnDisk: 49152, empty: false },
    { name: 'local', sizeOnDisk: 73728, empty: false }
  ],
  totalSize: 258048,
  ok: 1
}
test>
Wrapping Up
So these are easy steps to install MongoDB on my raspberry pi. However, as my operating system on Raspberry Pi 4 is changed, I need to install docker and setup webapp again. But steps are same as were in my previous article. Hope you enjoyed the article.